If you own an older MacBook, there’s a good chance your MacBook’s MagSafe charging cable is in poor condition. Over time, the cable becomes stripped and the wires under the plastic jacket are eventually severed, rendering the charger inoperable. This is very common with chargers with MagSafe 1 and MagSafe 2 connectors.
When that happens, your first instinct is to go to Apple’s website to buy a new one. And there it is a somewhat cold shower. Even though Macs with Magsafe 1 or 2 chargers are largely considered obsolete, their chargers, which are still sold by Apple, are still more expensive. For example, a 45W MagSafe 2 charger for an 11-inch MacBook Air from 2013 still costs a hefty 85 euros.
 ©Apple
In 2015, Apple abandoned the MagSafe 2 charging port in favor of USB-C before reintroducing the MagSafe 3 in 2021 via a USB-C to MagSafe 3 cable. Additionally, it might be very tempting to think about buying a wall charger to replace your old charger. Unfortunately, while Apple has a USB-C to MagSafe 3 cable available for sale (for its latest Macs), the Cupertino company doesn’t offer a similar option for the MagSafe 2 connection, which is too old. At a time when we are chasing waste, and although Apple dreams of being a green tech giant, it is clear that this is a real failure when it comes to sustainability.
There are some third-party providers online that offer this type of cable, but their reliability seems to be poor based on user feedback. Worse, using these unapproved cables and third-party USB-C chargers could at best damage your Mac and be dangerous at worst.
Now the solution remains to repair. If Apple’s chargers seem to be beyond repair, at least as far as older models are concerned, the mission is not impossible. With a little craftsmanship and soldering skills, it is entirely possible to repair an old MagSafe charger yourself. The process, accessible to even the most resourceful, only takes about ten minutes.
The equipment to be provided
In addition to some courage and time, you will need some supplies to carry out the operation:
- A universal pliers
- cutting pliers
- A wire stripper
- A soldering iron
- tin
- Heat shrink tubing or electrician’s tape
- Glue (to glue the case back together)
- A glue gun and a glue stick
How do you repair a cut cable on a MagSafe charger?
Before you rush into buying a new charger, you should first have it repaired. If the cable is exposed or even cut and your Mac no longer charges, you have nothing to lose by trying. And if the manipulation is successful, you will have saved several tens of euros.
1. Cut the charging cable
Grab your best cutting pliers and, if you haven’t already, start by cutting the MagSafe cable from the wall charger. Also remember to remove the charger plug, be it the two-pin plug or the power adapter extension cable.
 © Geoffroy Ondet – 01net.com
2. Open the charger
This is undoubtedly the most delicate maneuver of this repair. Because correctly opening your charging case depends on clean and easy reassembly. To open the case, first open the two cable storage hooks. Then take a pair of utility pliers, hold them closed and insert the end into the storage hooks.
 © Geoffroy Ondet – 01net.com
While holding the case, open the pliers with a little force and spread them wide enough to pry off each side of the case. Repeat the process on the opposite side, in the other recess reserved for the storage hooks. The hooks and their springs should then spring and the case should eventually open.
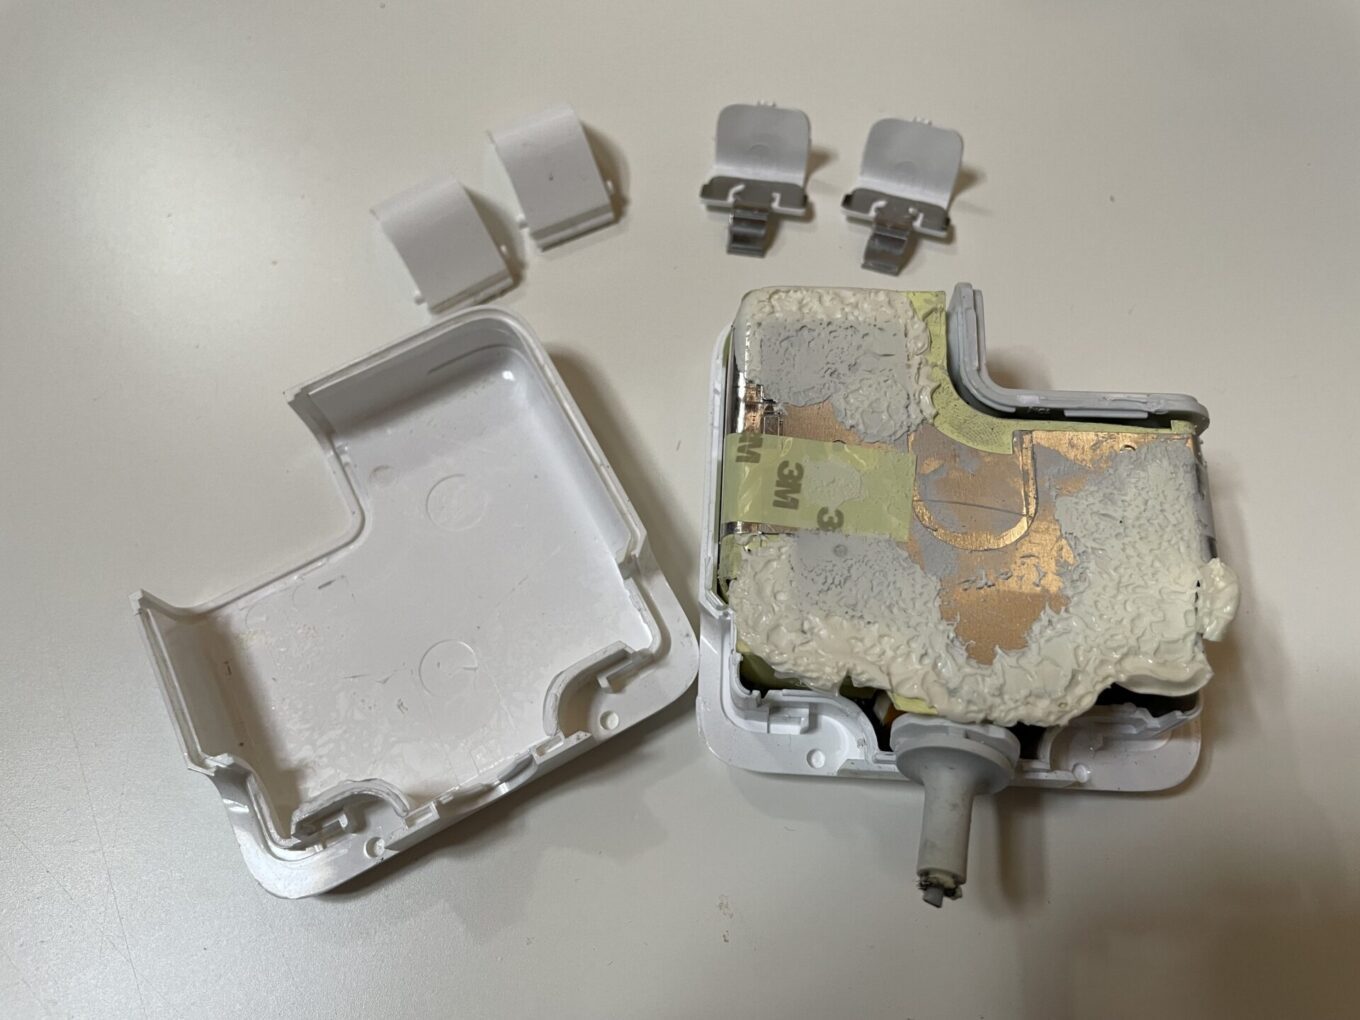 © Geoffroy Ondet – 01net.com
3. Cut the charging cables
If you haven’t already done so, now remove the protective rubber tip that connected the external MagSafe cable and internal cables to the charging circuit. Then take your wire cutters and cut the gray and black wires flush with the plastic tip to keep as much wire length as possible in the housing.
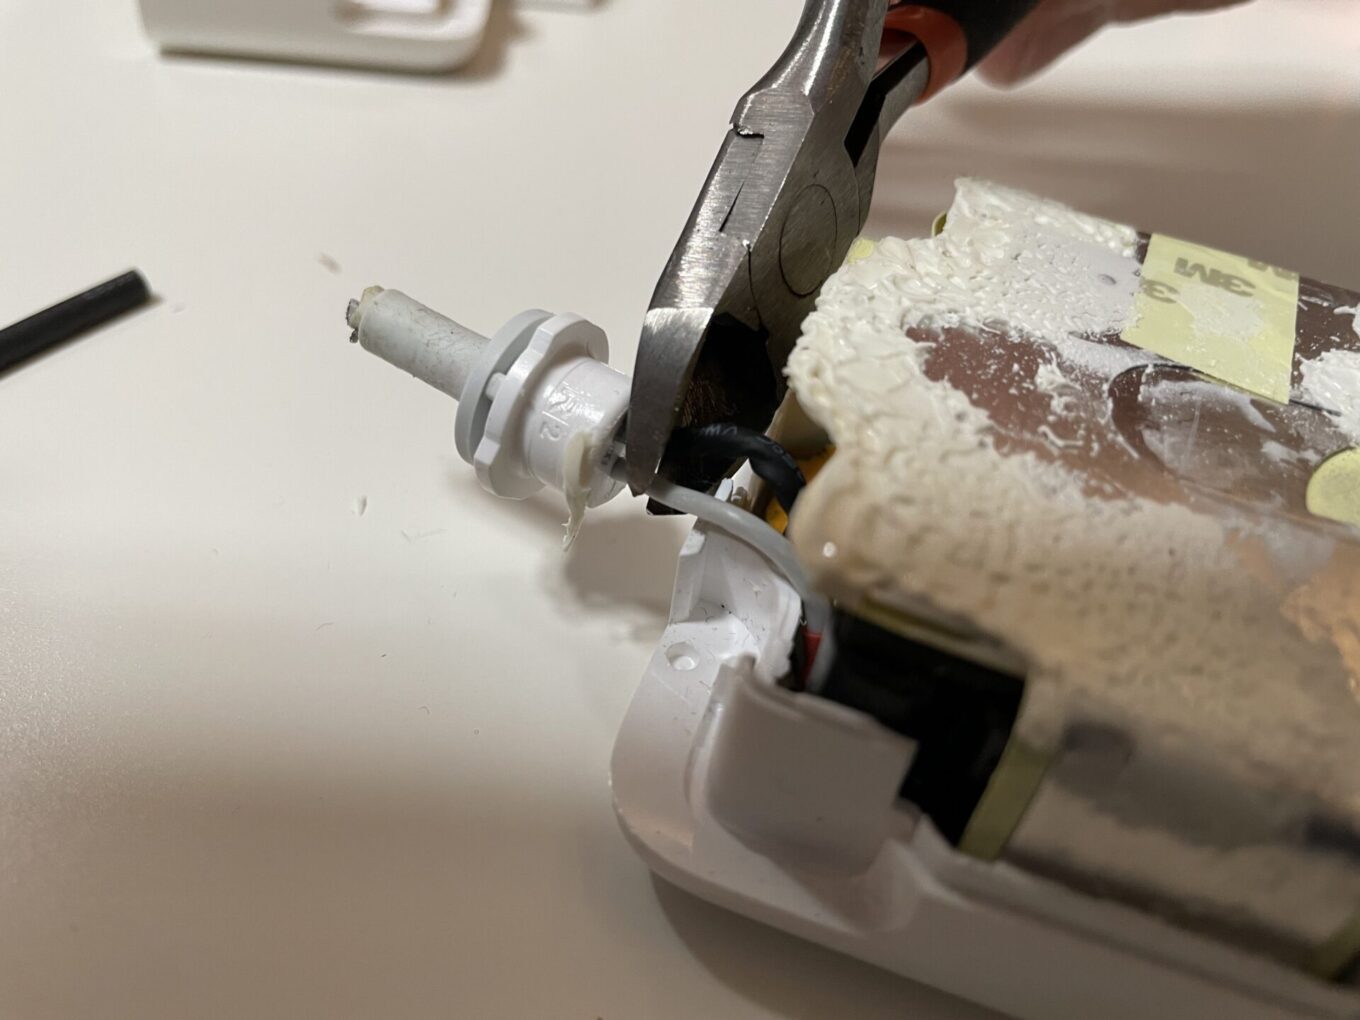 © Geoffroy Ondet – 01net.com
4. Strip the insulation from the wires
Using wire strippers, strip the gray and black wires coming out of the charging case.
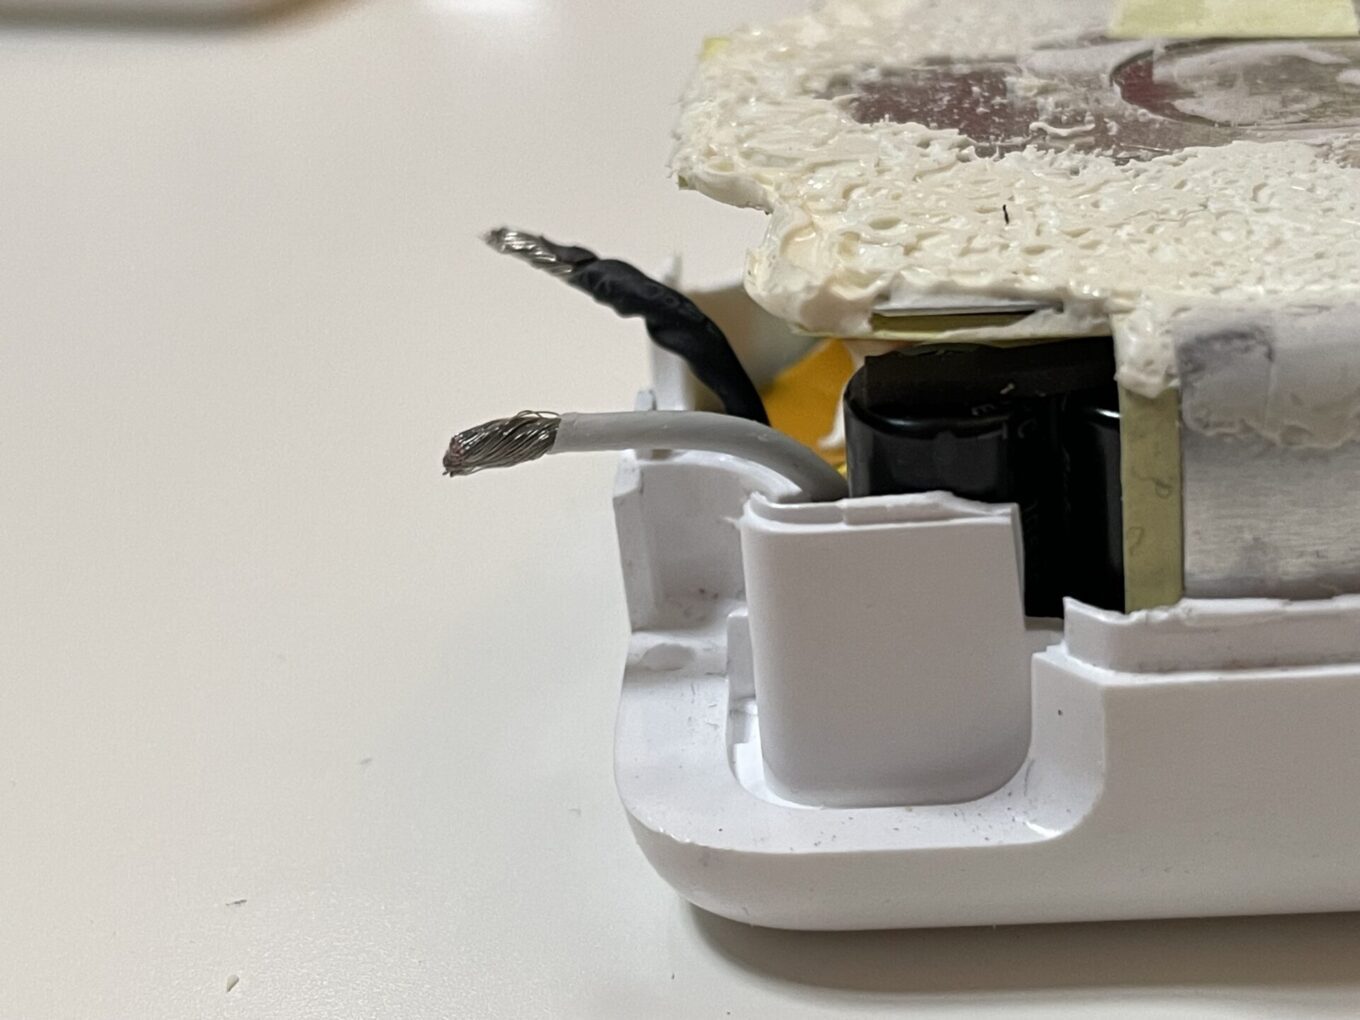 © Geoffroy Ondet – 01net.com
Do the same with the MagSafe cable. However, you have to do this in two steps. First strip the main gray jacket and then separate the bare wires from the core wire.
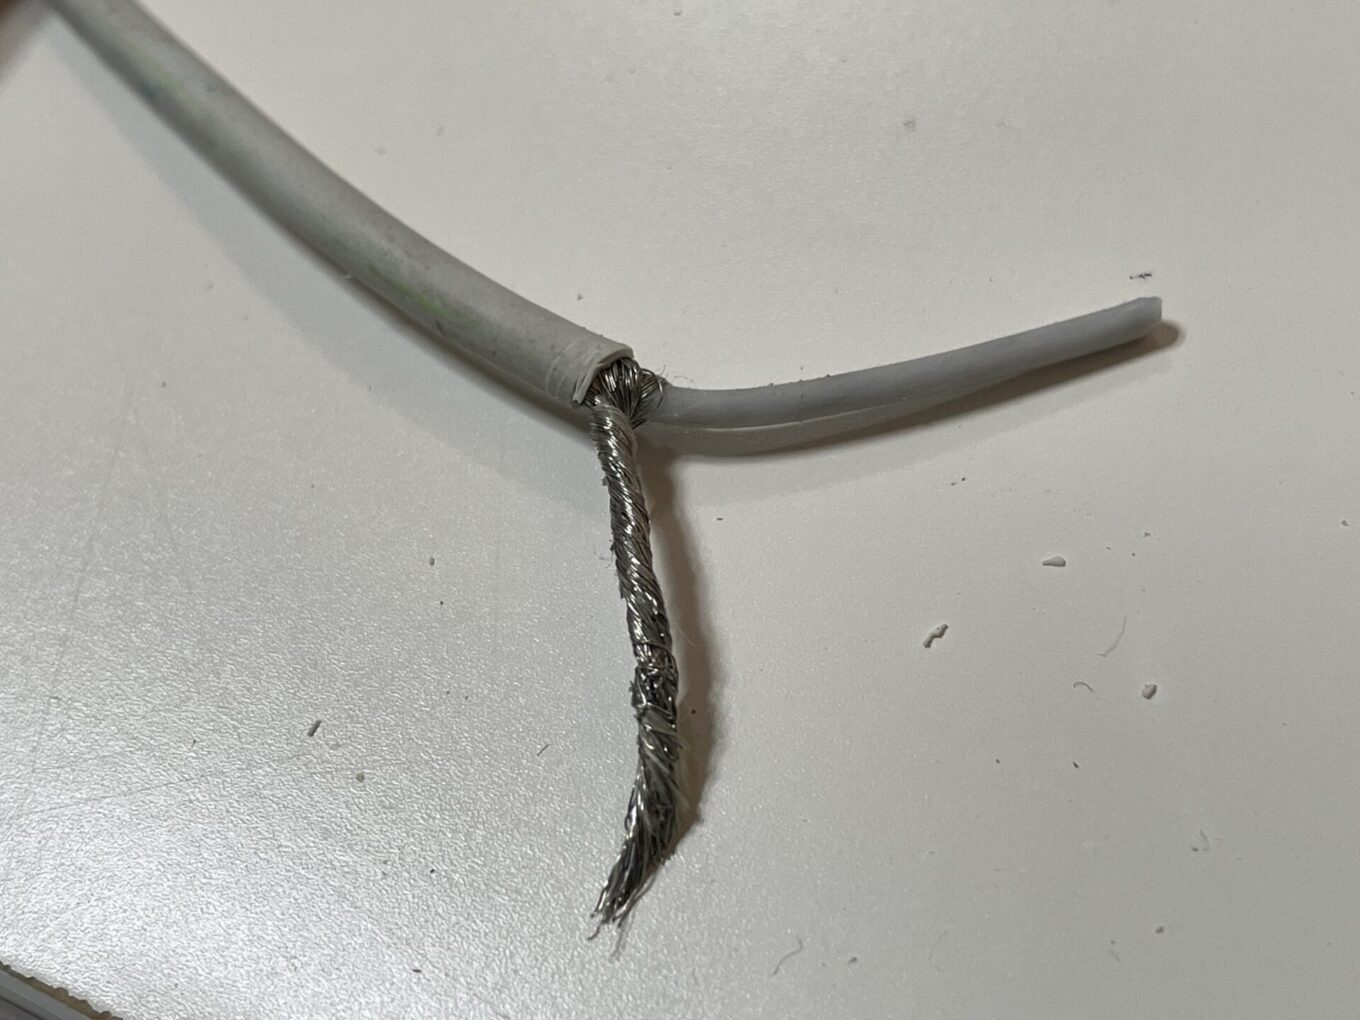 © Geoffroy Ondet – 01net.com
As you probably understood, the middle gray sheath must be connected to the gray cable of the box, while the bare wires that you have combined by twisting must then be connected to the black cable of the box.
5. Tin the wires
Now connect your soldering iron, take your tin and start tinning all the wires that you previously stripped and twisted. Covering it with tin makes soldering between the individual wires even easier.
 © Geoffroy Ondet – 01net.com – It is better to tin the wires before inserting the heat shrink tubing, which we did not do…
6. Insert your shrink tubing
Before you continue soldering between the wires, insert your heat shrink tubing that you previously cut to the correct size. One of a fairly large size for the MagSafe cable and two smaller ones for each of the two wires that compose it.
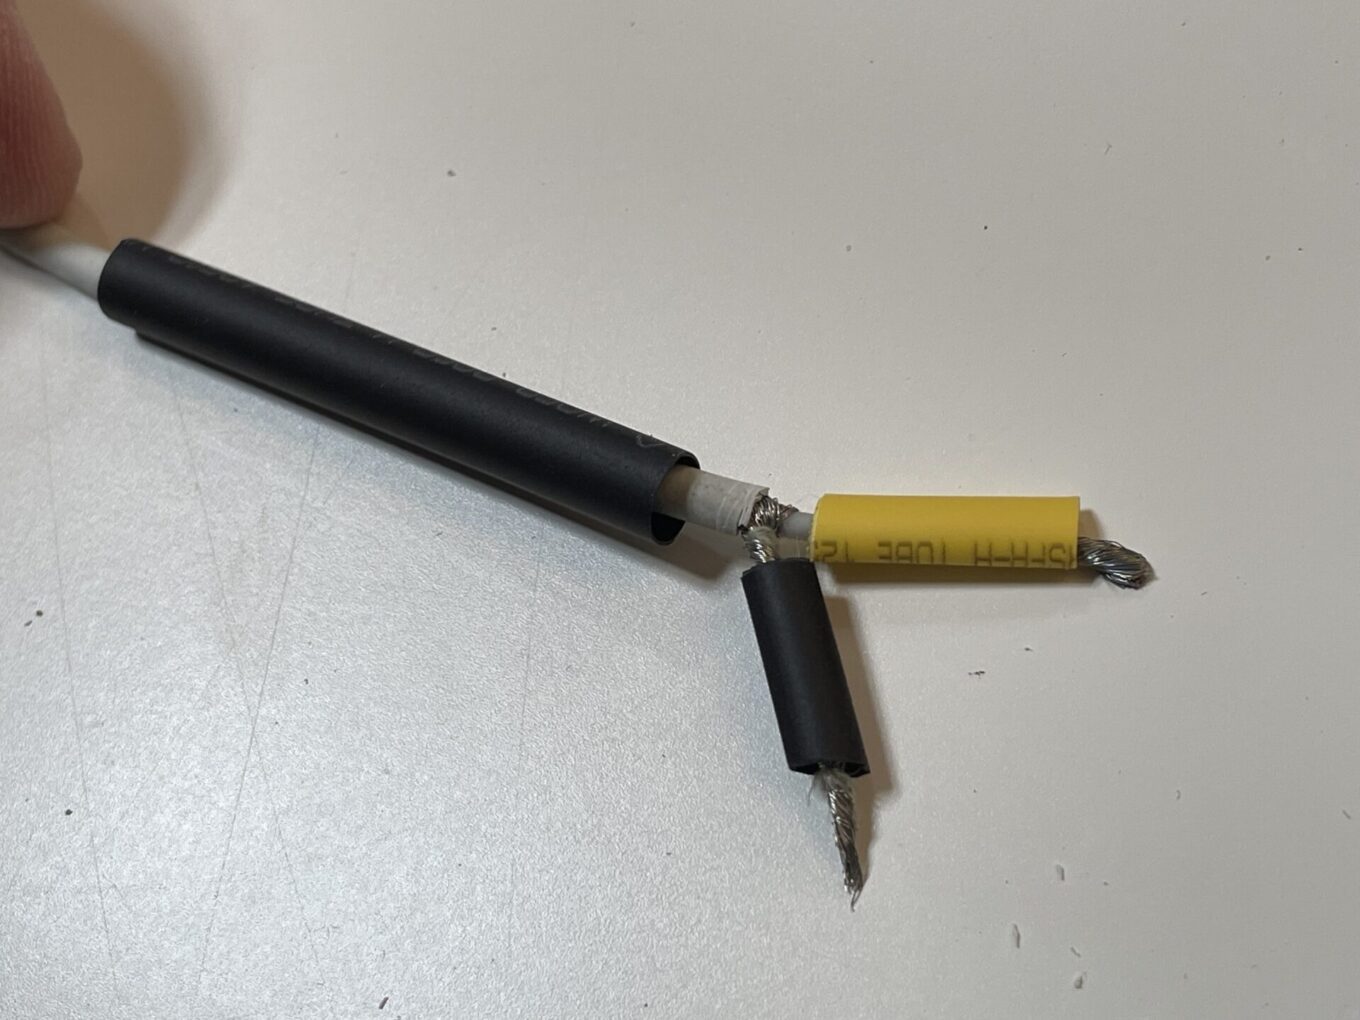 © Geoffroy Ondet – 01net.com
7. Solder the wires and attach the heat shrink tubing
Now comes the crucial moment of repair. Attach the gray wire of the MagSafe cable to the gray wire of the case and do the soldering with your iron. Then do the same between the black wire of the case and the bare wires of the MagSafe cable.
 © Geoffroy Ondet – 01net.com
Then pull your heat shrink tubing over each weld, making sure to cover your cables well to ensure perfect insulation. Use a lighter to bring a flame near your sheathings to hold them to the wires and solder joints you just made.
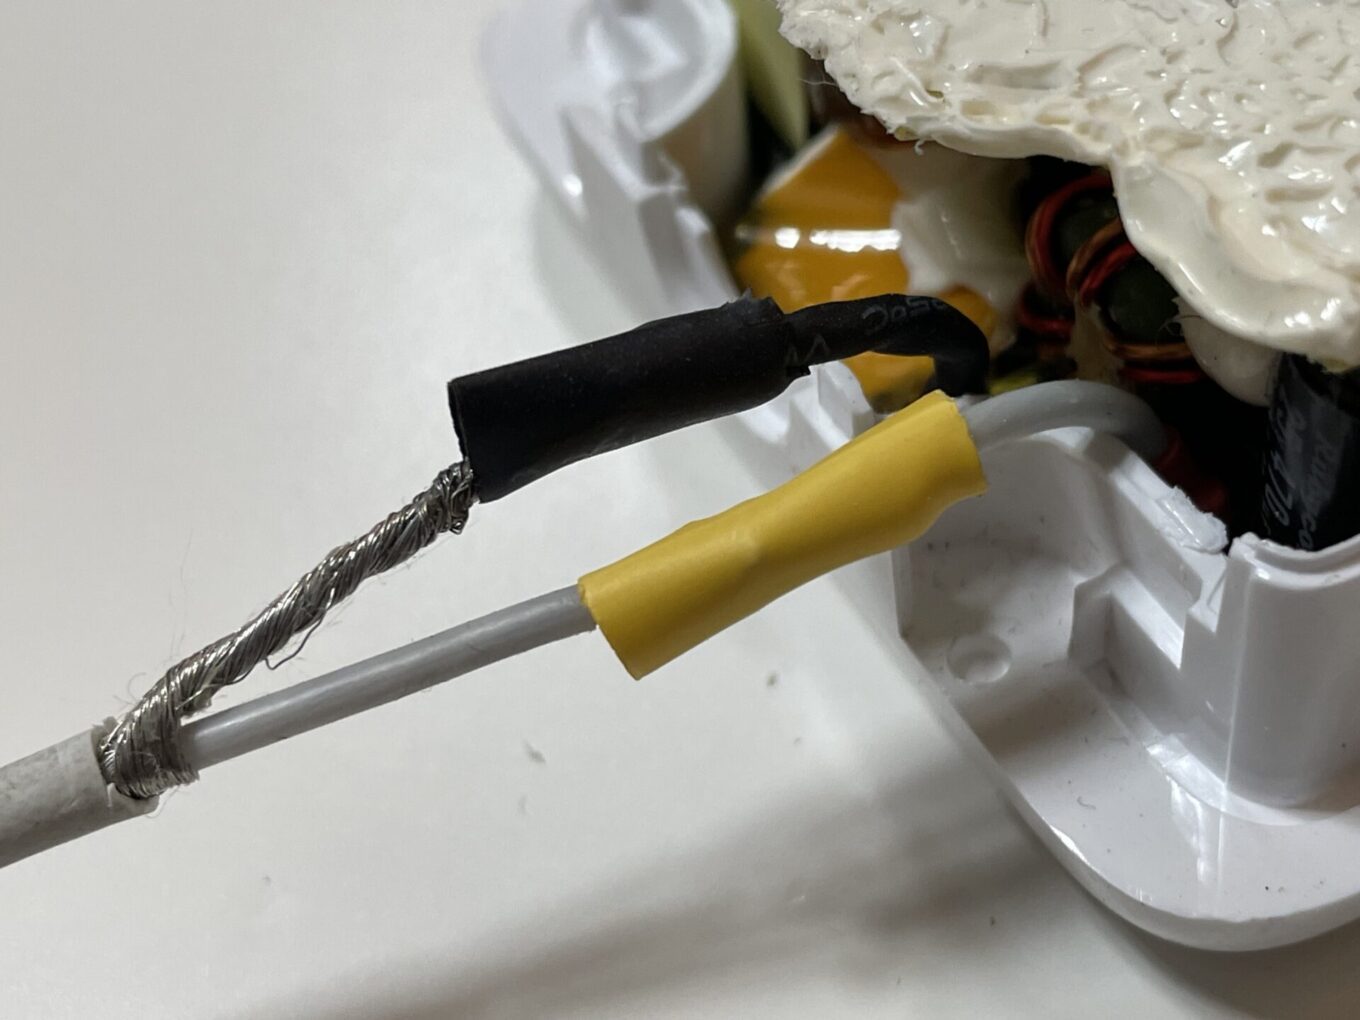 © Geoffroy Ondet – 01net.com
8. Reassemble the case
The repair is complete, now just close the case. Replace the two storage hook springs, then the two hooks themselves, and finally slide the housing shell.
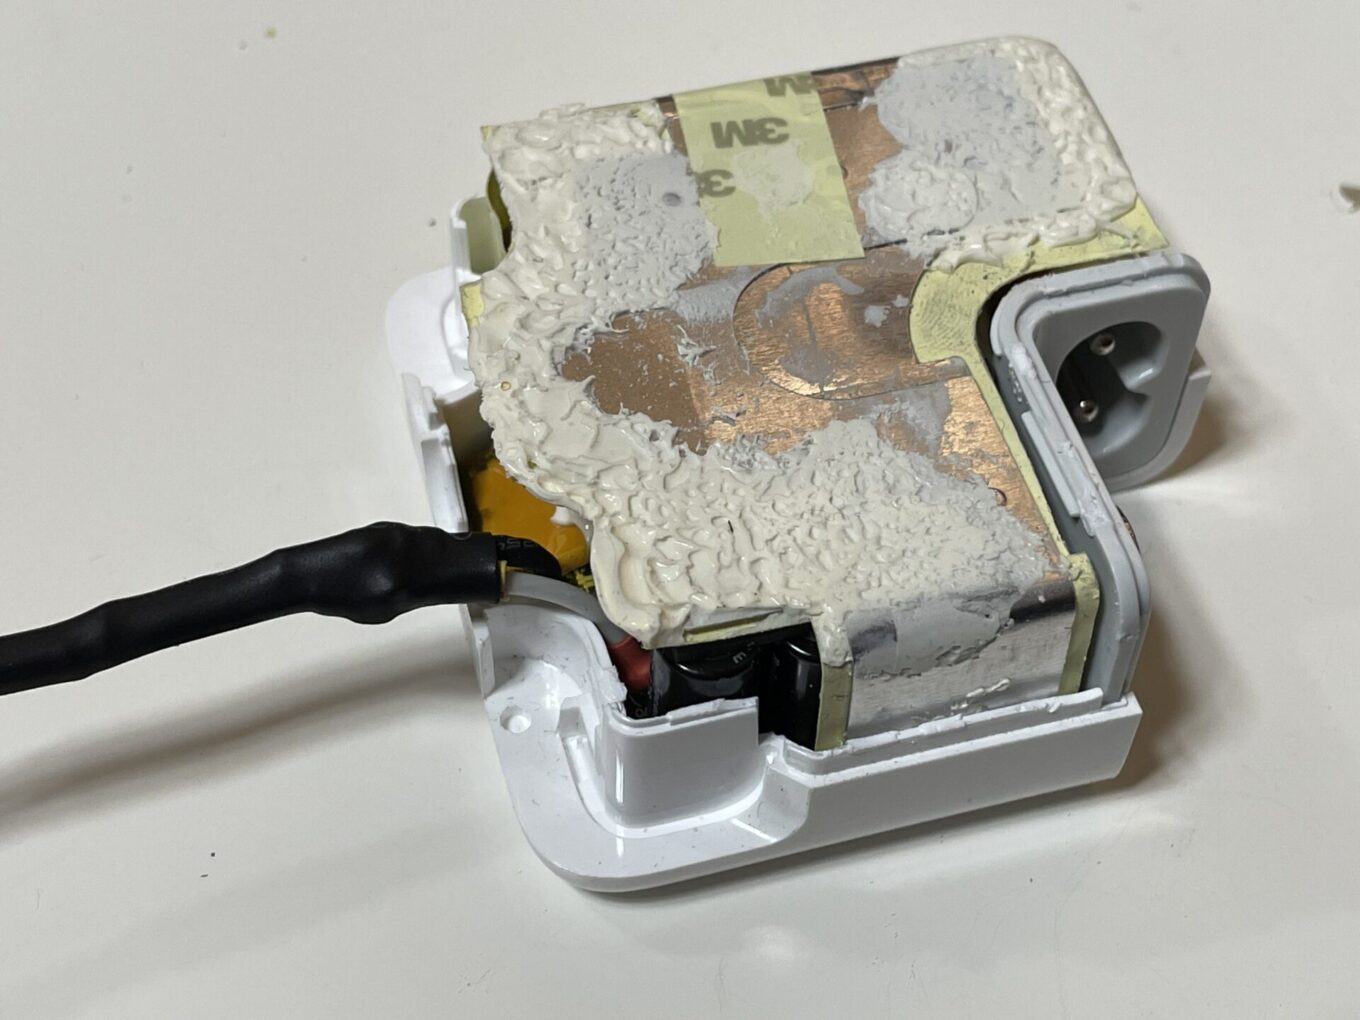 © Geoffroy Ondet – 01net.com
 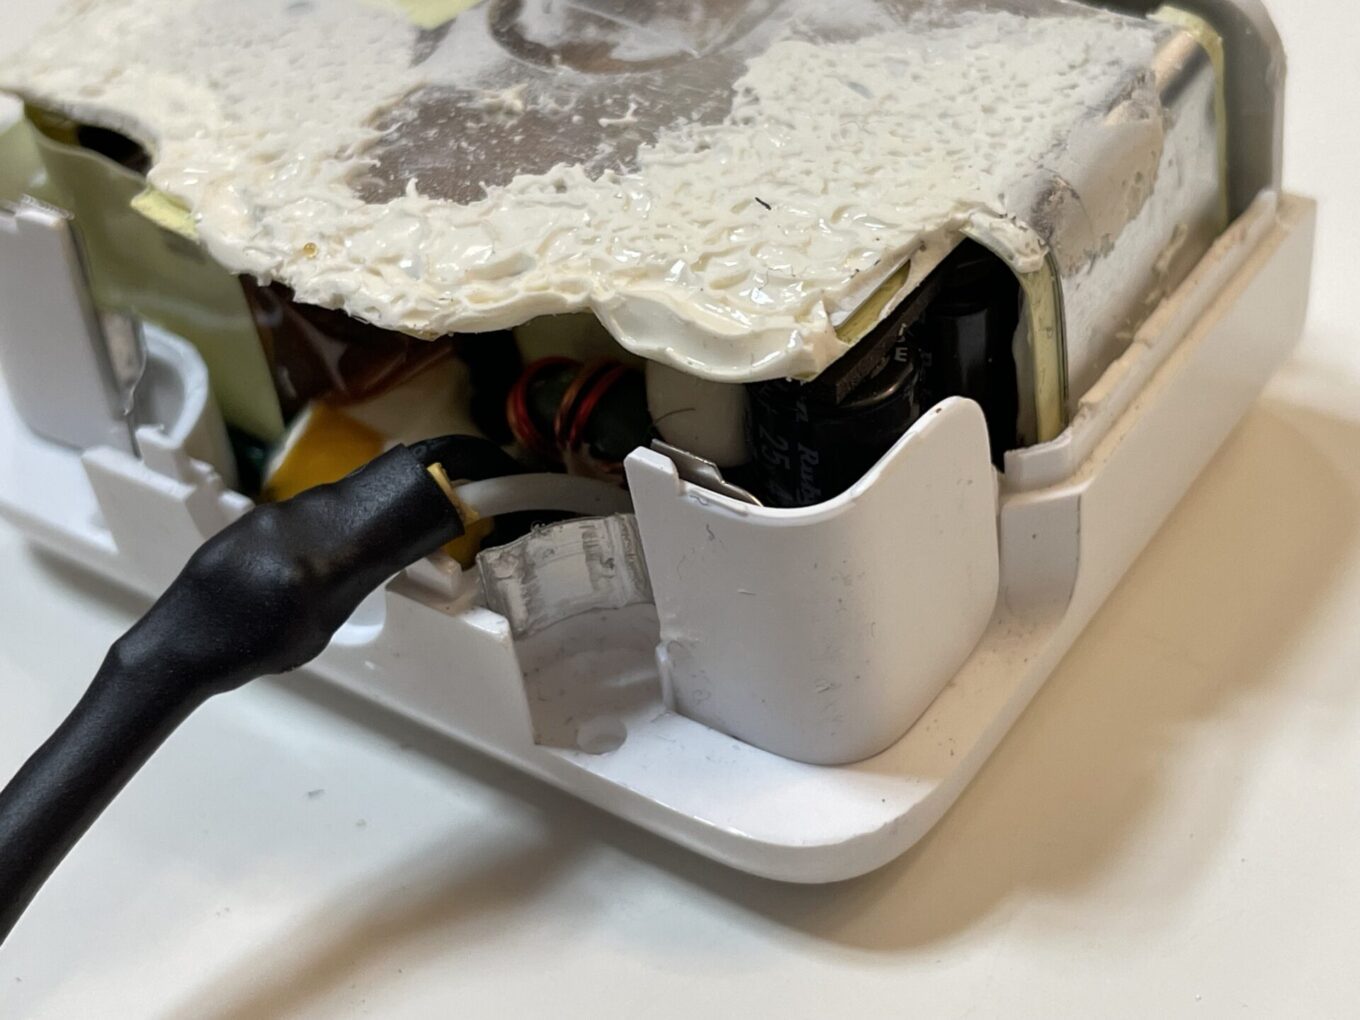 © Geoffroy Ondet – 01net.com
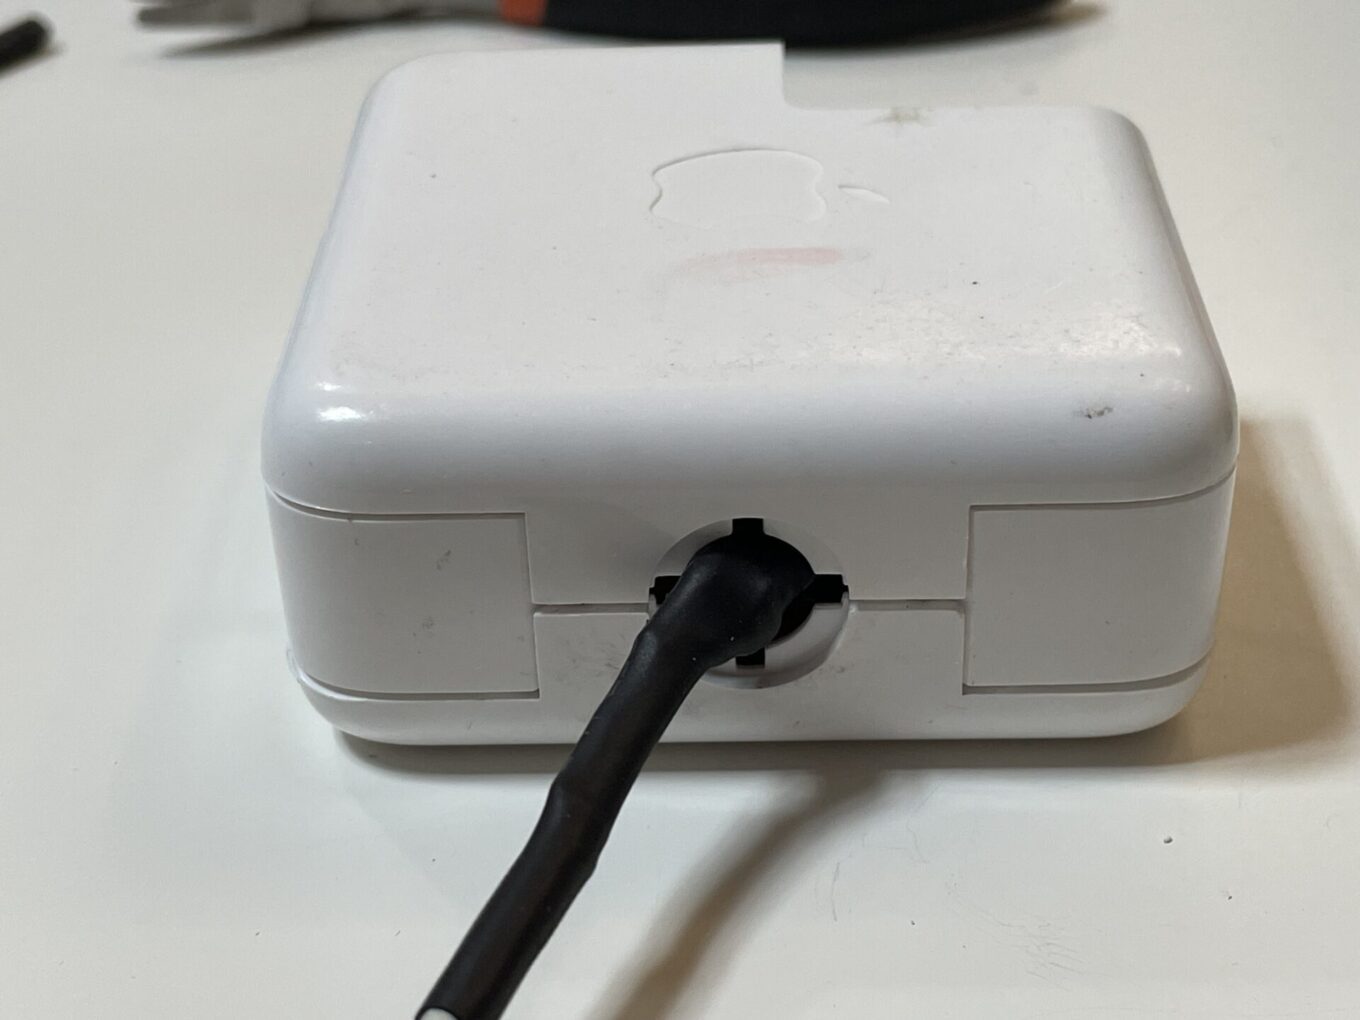
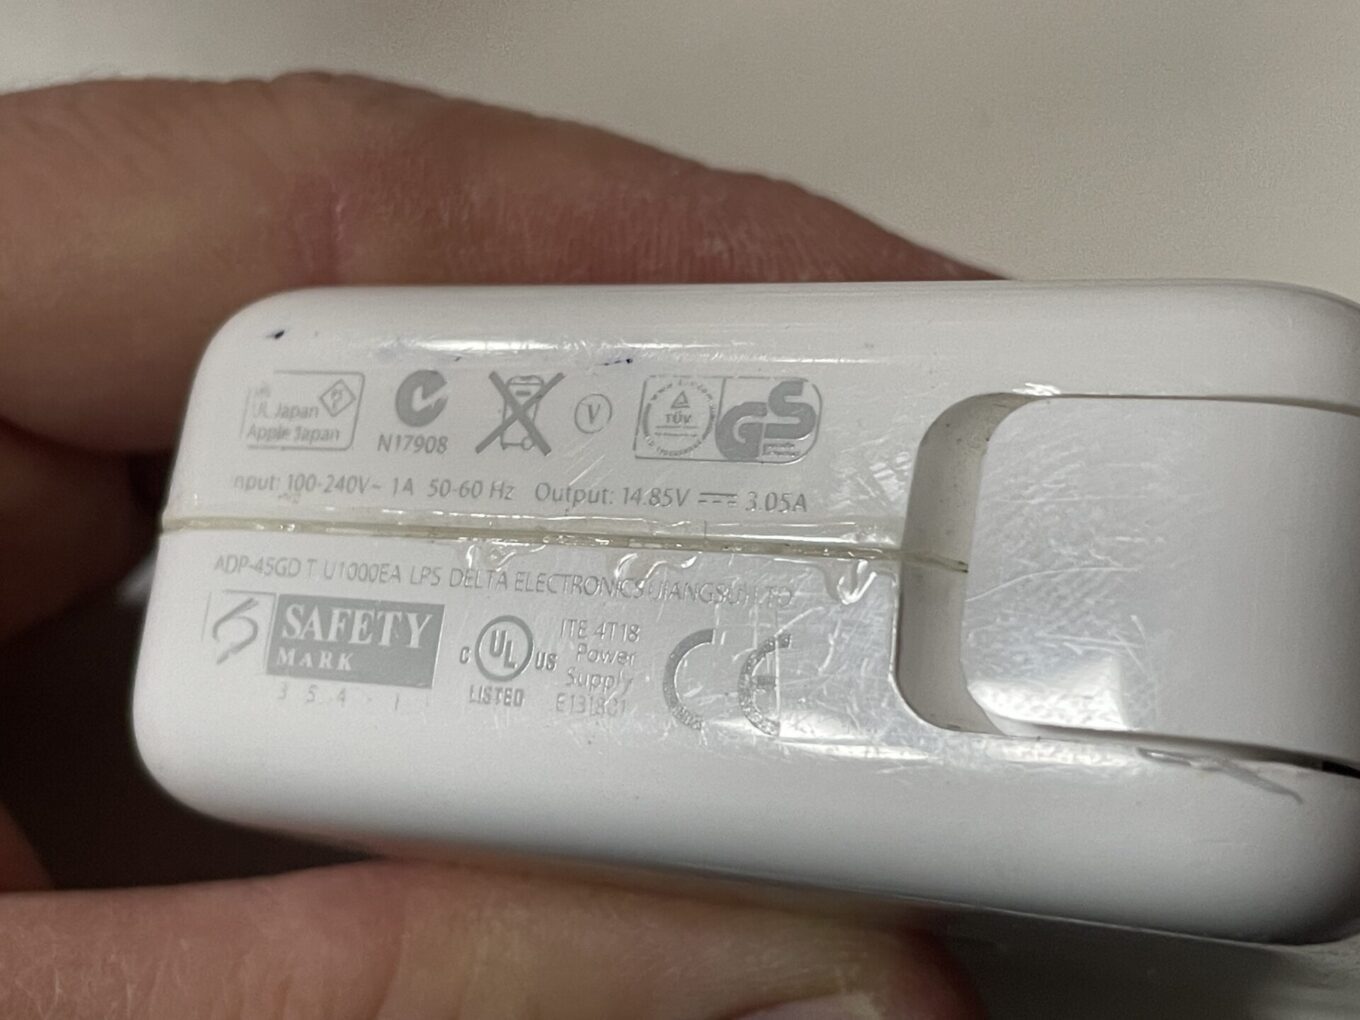
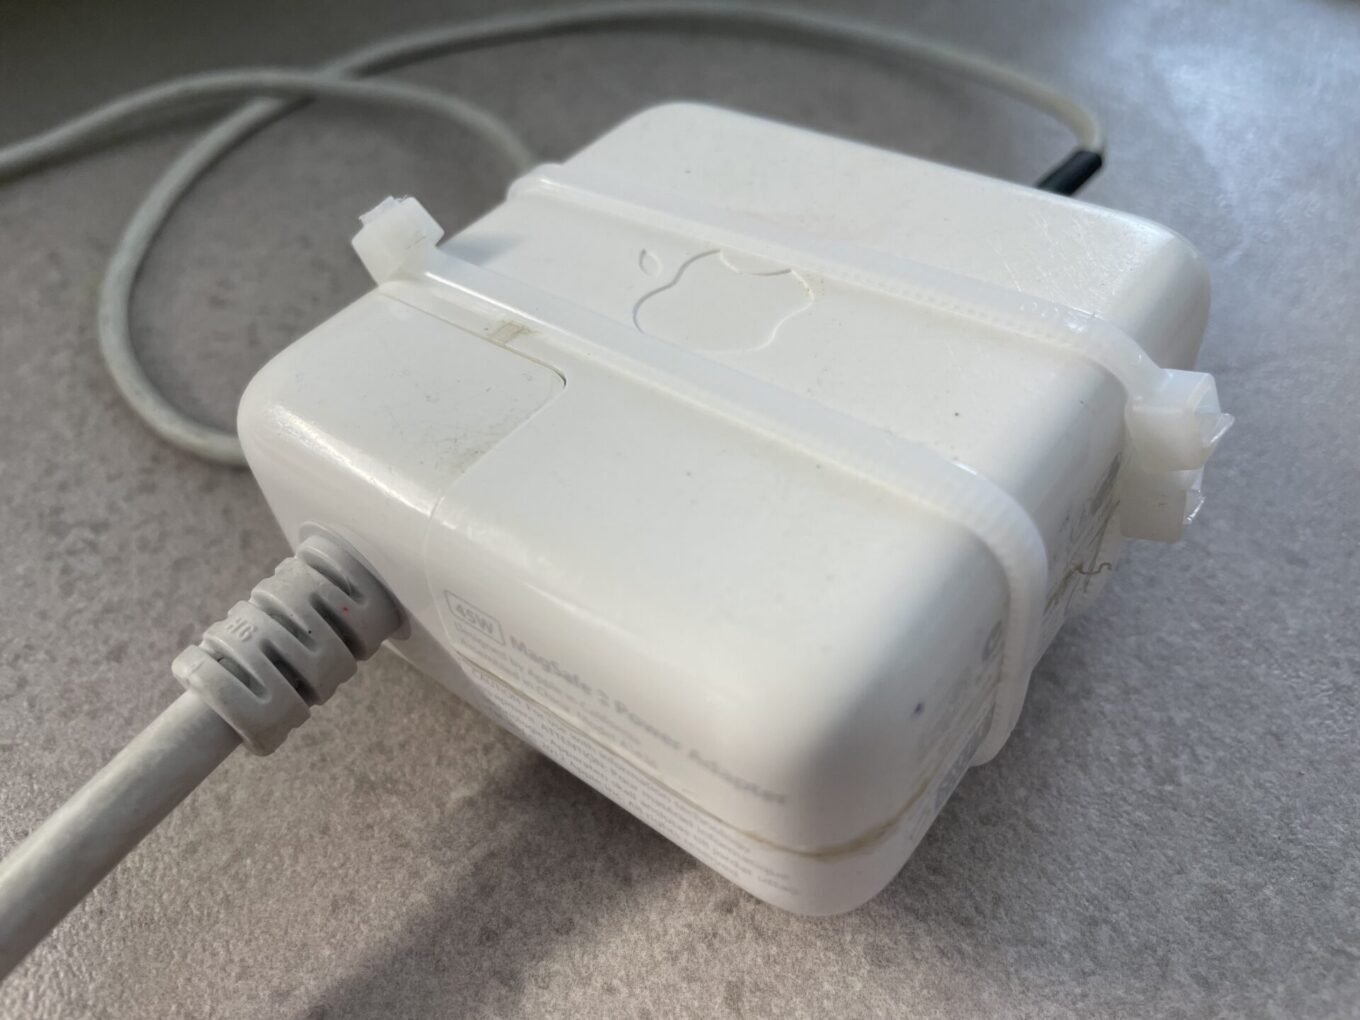
Adjust each element as best as possible, making sure that the cable comes out through the hole provided. Once the case is closed, take the tube of glue and stick the perimeter of the case in place. To ensure that the glue has time to dry and holds optimally, do not hesitate to secure the case with cable ties so that it does not open again.
 © Geoffroy Ondet – 01net.com
  © Geoffroy Ondet – 01net.com
  © Geoffroy Ondet – 01net.com
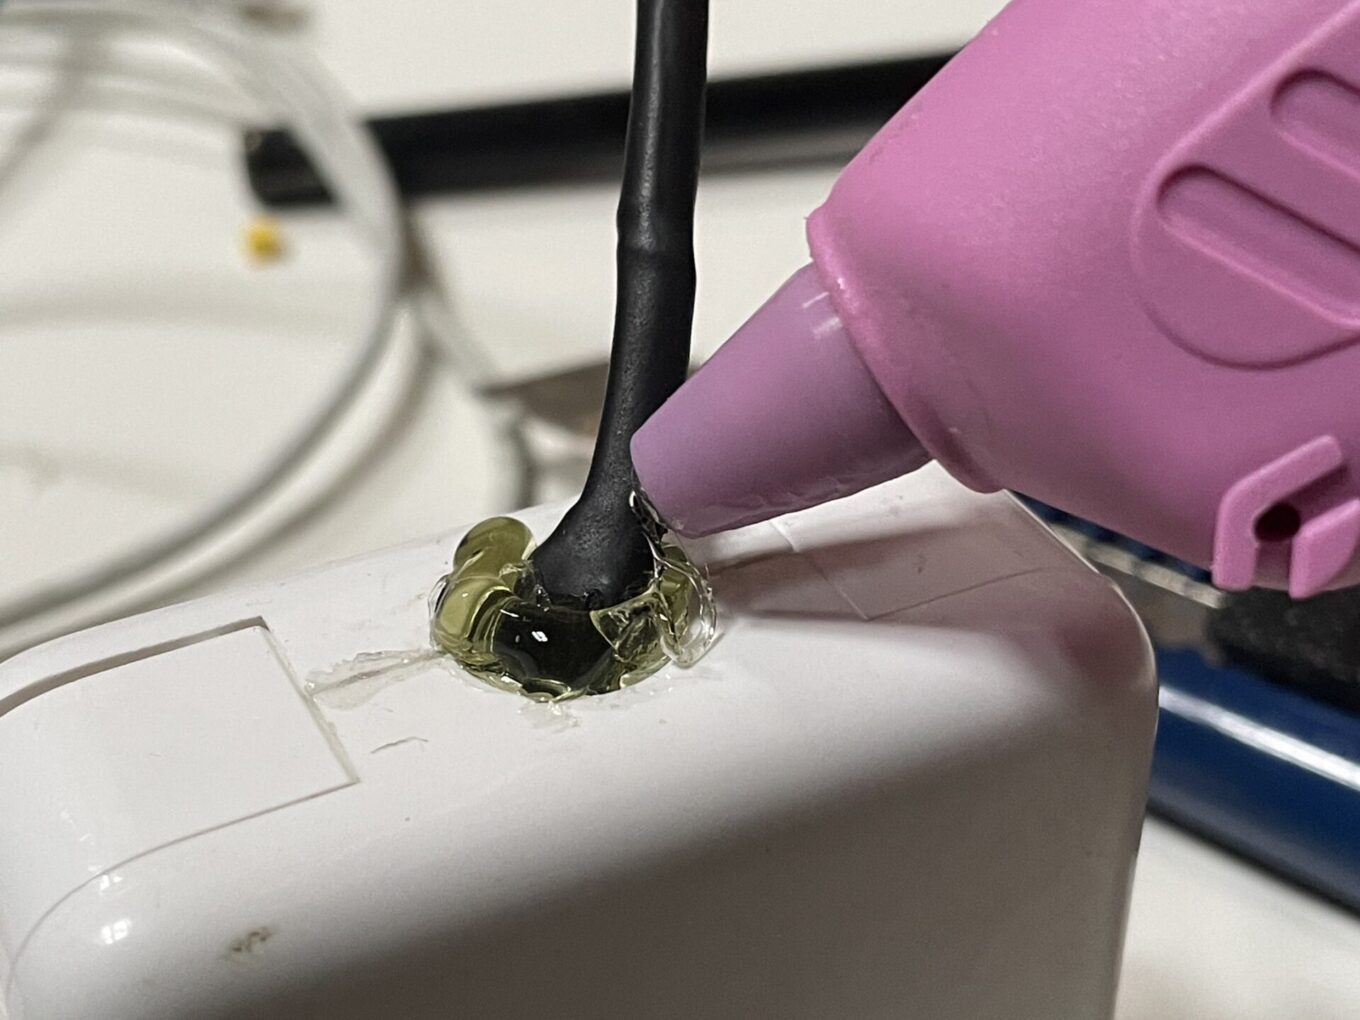
Then connect your glue gun and insert a glue stick into it. When the gun is hot enough, fill the hole in the case where the MagSafe charging cable comes out with glue, making sure to apply enough glue to the outside of the connection point between the cable and the case to solidify this part. Wait a moment for the glue to harden.
 © Geoffroy Ondet – 01net.com
  © Geoffroy Ondet – 01net.com
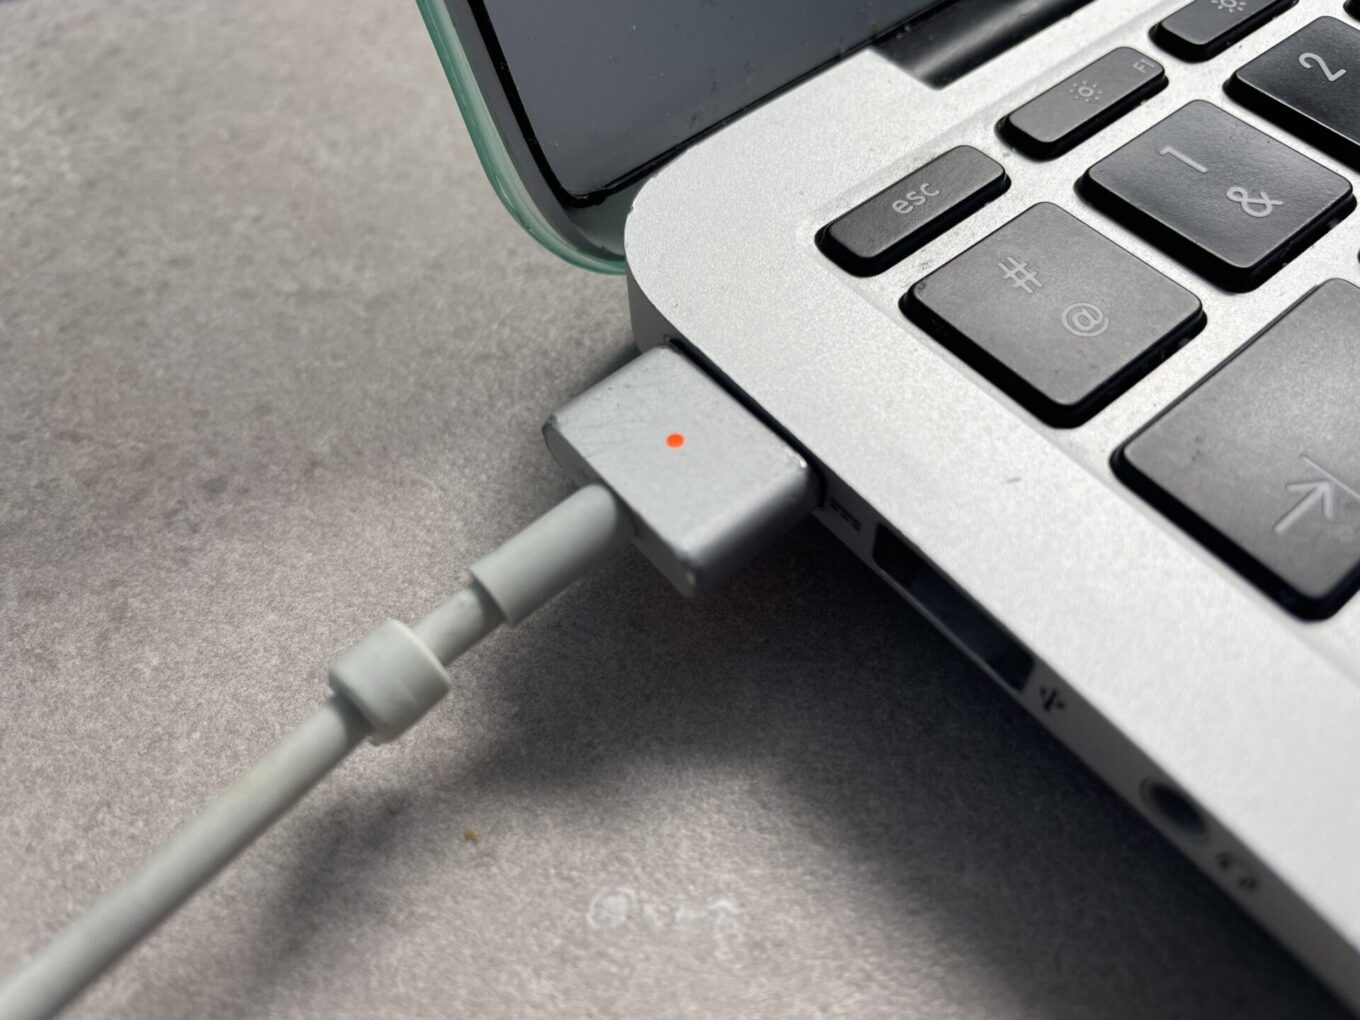
Now the fateful moment has come: connect the MagSafe tip to your MacBook and plug the charger into the power outlet. If everything went according to plan, the MagSafe port should turn red, indicating that your Mac is now charging.

